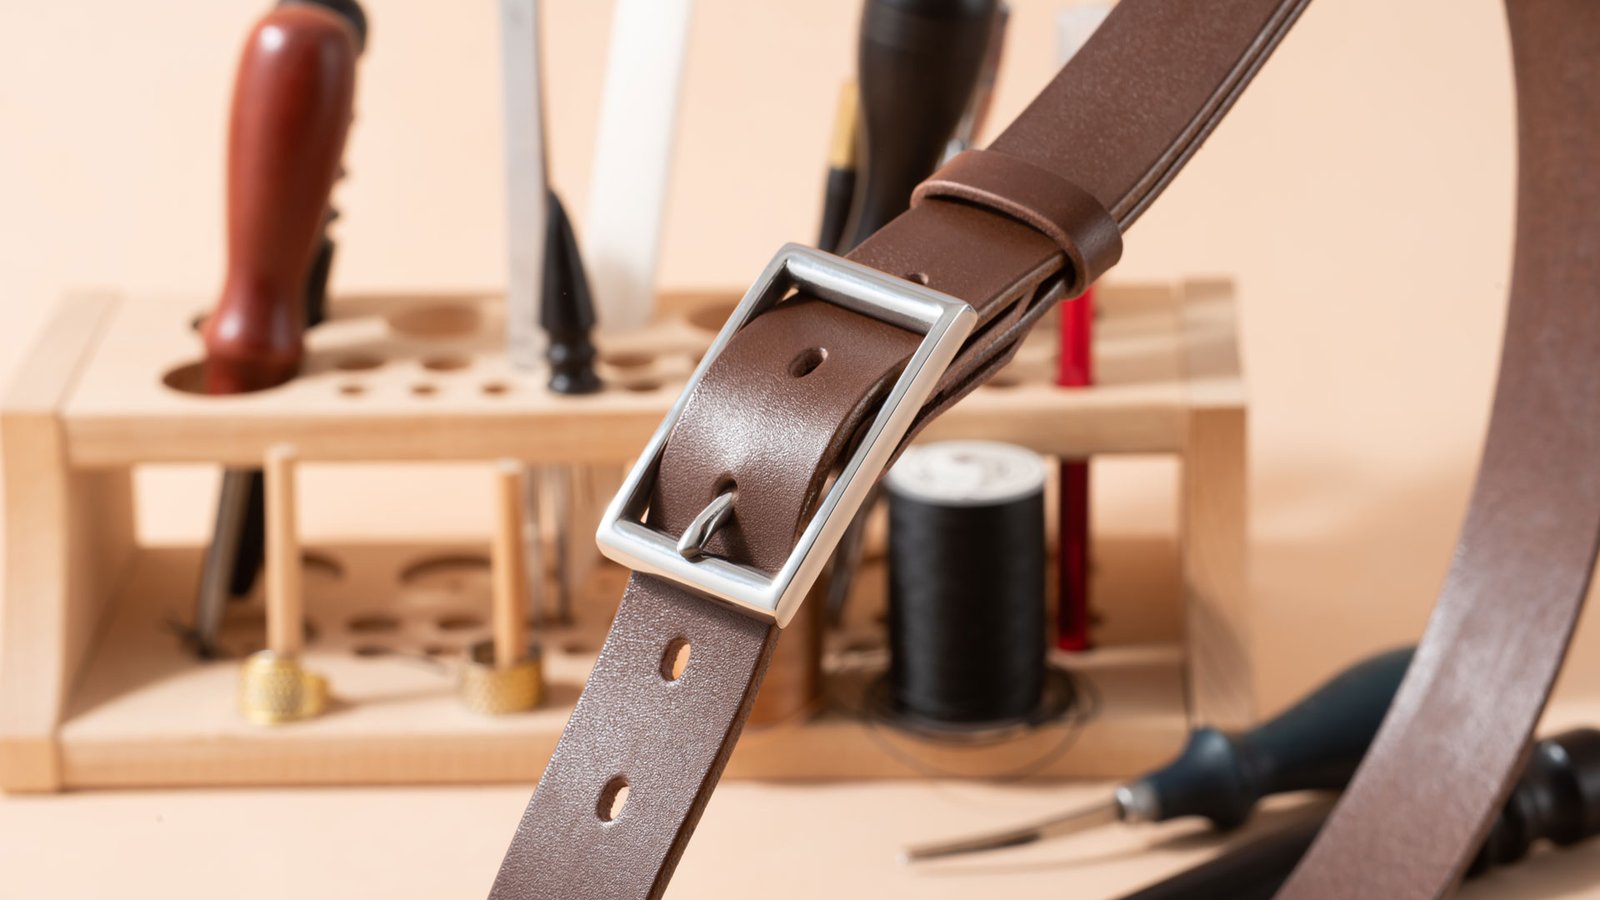
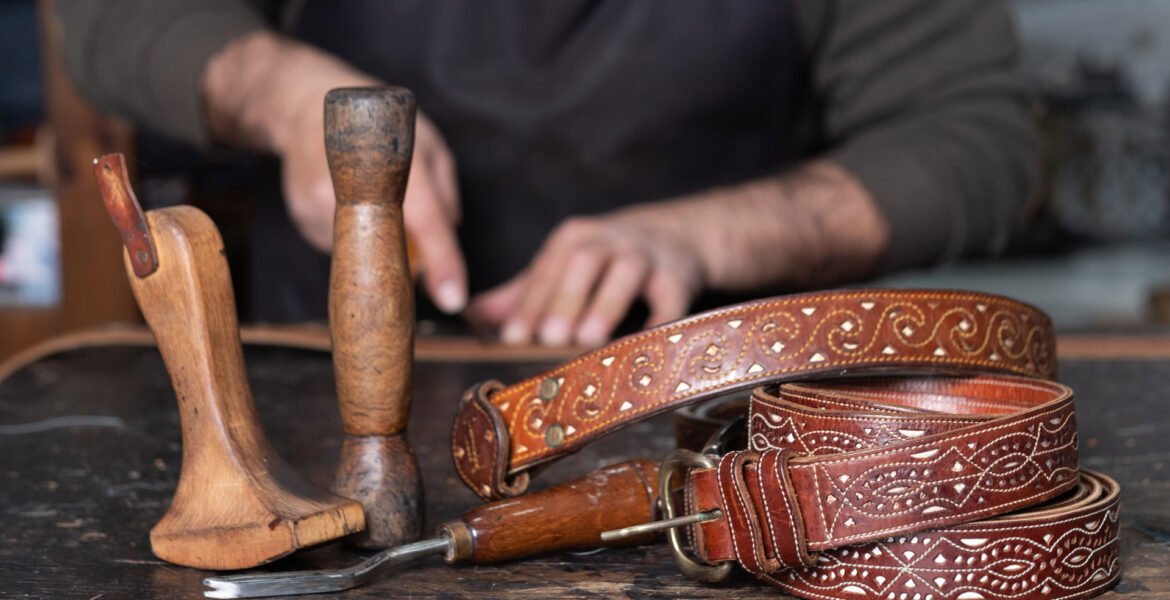
DIY belt customization isn’t just about making your accessories look different; it’s about showing off who you are through what you wear. Imagine taking a plain belt and turning it into something that screams ‘this is me!’ It could be as simple as adding colorful studs for a bit of sparkle or painting a design that means something special to you. Personalize your accessories by choosing themes that reflect your hobbies, like music notes for a melody lover or paw prints for an animal enthusiast. You don’t need a bunch of fancy tools either; with a little imagination and a few basic supplies, you can transform your belt into a piece of art that tells your story. Whether it’s a belt you’ve had for years or a new one that’s just not quite ‘you’ yet, giving it your personal touch can make it feel like a brand-new treasure. So, grab your belt, roll up your sleeves, and let your creativity lead the way to a wardrobe that’s as unique as you are!
What You’ll Need to Start

Before diving into the fun part of personalizing your belt, it’s important to get everything ready. First, find a plain belt – this will be your canvas. It can be an old belt you want to give new life to, or a simple one you’ve bought for this purpose. Next, think about how you want to decorate it. You can use studs for an edgy look, paint for bold patterns, or rhinestones for a bit of sparkle. The sky’s the limit!
Now, let’s talk about tools. If you’re adding studs or rhinestones, you might need glue suitable for fabrics or leather. Make sure it’s strong enough to hold your decorations in place. For attaching studs or making holes for more intricate designs, a leather punch is super handy. If you’re painting, grab brushes in various sizes and fabric or leather paint.
Lastly, let’s not forget about protection. Keep your workspace clean with some newspaper or a plastic sheet, and wear old clothes or an apron. If you’re under 18, ask an adult to help with tools like the leather punch. Now that we have everything, we’re all set to start transforming your belt into a unique fashion statement!
Finding Your Inspiration
Starting a creative project can sometimes feel like standing at the bottom of a mountain—it’s tough to know the first step to take. If you’re feeling stuck, think about the things that make you smile. What are your favorite colors? Maybe you love the calmness of blue or the cheeriness of yellow. Colors can set the mood for your project and get those creative ideas flowing.
Patterns can also spark your imagination. Do you have a soft spot for stripes, adore polka dots, or are you drawn to the intricate designs of paisleys? Patterns can add a fun twist to your project, making it stand out. They can be as simple or as complex as you like, so play around with different designs until you find one that feels right.
Lastly, consider the themes that resonate with you. Are you fascinated by the vastness of space and dream of stars and planets? You could create something that captures the essence of a galaxy. Or maybe you’re a sports fan who wants to wear your team’s colors proudly. Whatever your passion, let it guide your creativity. Remember, the sky’s the limit—so reach for it!
By focusing on what you love, you’ll find that ideas start to come naturally. And the best part? Your finished project will be a true reflection of you. So, grab your materials and let’s get started on a journey to make something uniquely yours!
Prepping Your Belt
Before you start transforming your belt, it’s important to have a clean and dry workspace. Dirt or moisture on your belt can mess with your creative process, making things like paint or glue less effective. So, grab a clean cloth and wipe down your belt thoroughly. If it’s a leather belt, you might want to use a leather cleaner for the best results. Wait until it’s completely dry before moving on to the next step.
Now, if you’re planning to add a splash of color to your belt with paint, you’ll need to do a bit more prep. Paint sticks better to a surface that’s a little bit rough. So, take a piece of sandpaper – something around medium grit should work – and gently rub it over the area you want to paint. This will create a nice texture for the paint to cling to. After sanding, remember to wipe off any dust so the surface is ready for your artistic touch.
For those of you looking to add some extra flair with studs, rhinestones, or other cool items, it’s a good idea to plan out where you want everything to go before you start. Use a piece of chalk or a soft pencil to make light marks on the belt. These marks will be your guide and help you place everything evenly. If you make a mistake, don’t worry! Chalk and pencil can be wiped off easily, so you can adjust your design as you go.
Remember, taking the time to prepare your belt properly will make the customization process smoother and the end result more professional. So, follow these steps, and you’ll be on your way to creating a unique accessory that’s all your own.
The Customization Process
Now the fun part begins! If you’re painting, apply your design with a steady hand. For studs, rhinestones, or other items, use your tools to attach them securely. Take your time and enjoy the process of bringing your vision to life.
Painting Your Accessory
Starting with painting, pick colors that match your style. Before you begin, make sure the surface is clean and dry. Use painters tape to outline areas you don’t want to paint. When applying paint, use even strokes and allow each layer to dry completely. This will help avoid smudges and give you a neat, professional look. Remember, patience is key to a beautiful finish!
Adding Studs and Sparkle
For those who love a bit of shine, adding studs and rhinestones can be thrilling. First, decide on a pattern or placement. Then, using a strong adhesive or a setting tool, carefully place each stud or rhinestone onto your accessory. Press firmly to ensure they stick well. It’s a good idea to practice on a piece of scrap material first, so you feel confident when it’s time to work on the actual item.
Enjoying the Creation Journey
Remember, customizing your own accessories should be enjoyable! Whether you’re doing this alone or with friends, it’s a chance to express your creativity. Don’t rush through it. Take pleasure in picking out materials, planning your design, and watching as your accessory transforms. The more love you put into the process, the more you’ll appreciate the final piece you’ve created.
Extra Tips and Tricks
Simplicity Speaks Volumes
It’s tempting to go all out when you’re personalizing your belt, but remember that simplicity often makes the strongest statement. A single standout feature, like a unique buckle or a splash of color, can draw the right amount of attention without overwhelming your style. It’s all about finding that perfect balance that adds to your outfit without taking over.
Harmony with Your Wardrobe
When customizing your belt, think about what you usually wear. Your belt should be a team player in your wardrobe lineup, meaning it should match and enhance your usual style. If you wear a lot of blues and greens, for instance, a belt in those shades or in complementary colors could be perfect. It’s important that your belt looks like it belongs with your clothes, creating a harmonious and put-together appearance.
Consider the Occasion
Also, where are you planning to wear your belt? If it’s for everyday use, you might want something versatile that goes with many different outfits. For special events, though, you might want a belt that’s a little more eye-catching or formal. Think about your daily activities and choose a design that will be practical and stylish for most occasions.
Quality Over Quantity
Last but not least, invest in good quality materials for your belt customization. It’s not just about how it looks, but also how it lasts. High-quality leather or fabric, sturdy stitching, and solid buckles will ensure your belt stays looking great for a long time. This way, you won’t have to keep replacing it, and it can become a staple in your wardrobe.
With these extra tips in mind, you’re all set to customize your belt in a way that’s stylish, practical, and uniquely you. Happy customizing!
Caring for Your Custom Belt
After you’ve put in the time and effort to make your belt unique, it’s important to keep it looking great. If you’ve added a splash of color with paint, protect it with a clear coat. This acts like a shield, keeping the paint from chips and scratches. You can find clear coat products at a craft store or online. Follow the instructions on the product to make sure it’s done right.
For those extra bits and pieces you’ve attached, like studs or rhinestones, give them a check-up now and then. It’s a good idea to do this every time you wear your belt. If anything feels loose, you can secure it back in place before it falls off and gets lost. This way, your belt always looks as good as new.
Remember, your custom belt isn’t just an accessory; it’s a personal statement. So, treat it with care. Store it in a cool, dry place when you’re not wearing it to keep it from warping or getting damp. When you take it off, hang it up or roll it gently instead of throwing it in a drawer. This keeps it straight and prevents any decorations from getting squashed.
With these simple steps, your custom belt can last for a very long time. It could even become your signature piece that you’re known for. Just like any favorite item, the more love you give it, the longer it’ll be part of your style. Enjoy creating and wearing your belt, and remember to give it the TLC it deserves!
Show Off Your Creation
Don’t be shy—wear your belt with pride! Pair it with different outfits and see how it can change up your look. And when people ask where you got such a cool accessory, you can say, “I made it myself!”

